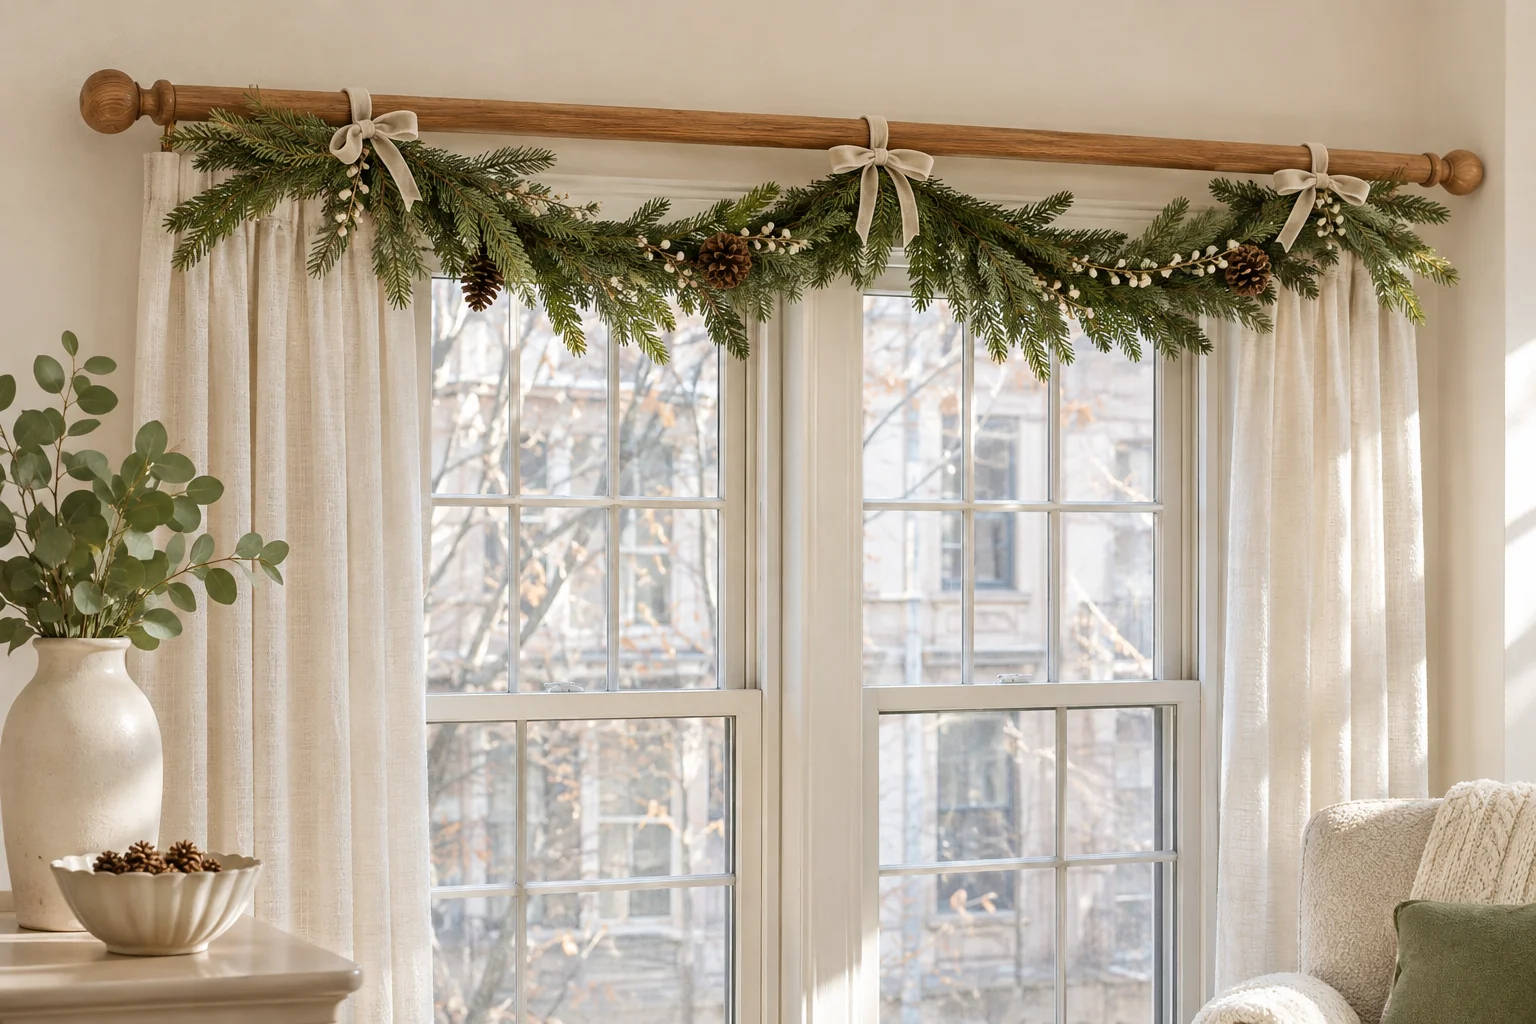
A strand of greenery can dress up an apartment window or a blank wall without adding nail holes. Start by checking what the surface can handle and weighing the finished garland, including any lights or ornaments. A light faux strand gives you more mounting options than a heavy bundle of fresh greenery.
The quick answer: On smooth, fully cured paint in good condition, use removable stretch-release hooks rated for the load. If you have wallpaper, peeling paint, or heavy texture, keep adhesive off the wall. A recessed window, an existing curtain rod, or a suitable steel panel can support garland without mounting it directly on drywall. Every mounting method carries some risk of marks or damage.
Table of Contents
Materials and surface compatibility
Have a tape measure, a scale, soft ribbon or twine, and a stable step stool ready. Choose your hardware after checking the surface and the total weight.
| Method | Where it works | What to check |
|---|---|---|
| Stretch-release hooks | Sound, smooth painted walls or compatible smooth tile, glass, or finished wood | Package surface list, load rating, and wait time |
| Padded tension rod | Recessed window with two opposing, flat, solid jambs | Rod size range and load rating at your span |
| Ribbon ties | Secure existing curtain rod | Remaining capacity after curtains |
| Rubber-coated magnetic hooks | Flat, magnet-compatible steel | Vertical load rating for comparable steel |
| Brick clips | Sound exposed brick with recessed mortar | Clip size and joint depth |
Five ways to hang garland without nails
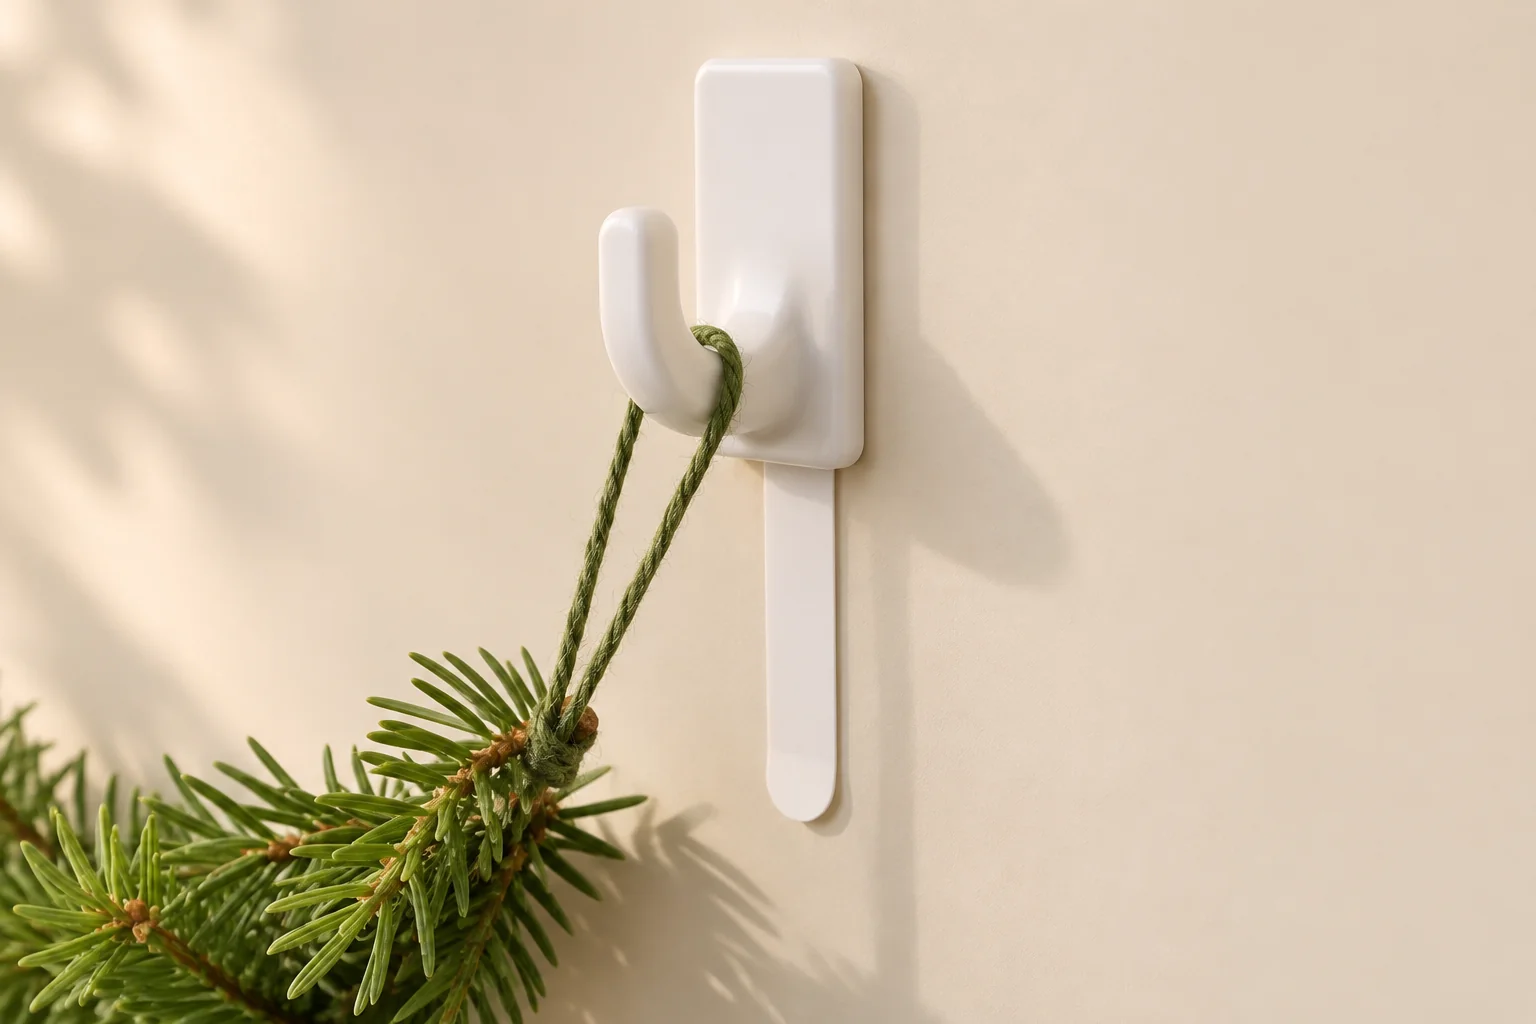
1. Use removable adhesive hooks on smooth paint
Lay out the swag first so the ends and center have support without pulling the strand taut. The Command Medium Utility Hook (17001) holds up to 3 pounds on compatible indoor surfaces. Use only clean, smooth surfaces listed on the package, such as sound painted drywall, finished wood, tile, or glass. Match the hook and strip to the surface and the load at each support. A swag can load its hooks unevenly.
- Let paint fully cure. 3M requires at least seven days after painting and recommends wiping compatible surfaces with rubbing alcohol. Let it dry.
- Apply a fresh matching strip. Choose a spot with at least 12 inches of clear wall below the release tab, then press the hook or base firmly against the wall for 30 seconds. For a two-piece hook with a removable base, slide the hook off, press the base for another 30 seconds, then slide the hook back on.
- Wait one hour before loading the 17001 hook. If you use a different model, follow its package directions and waiting time. Lower the garland loops gently onto the hooks.
 Save
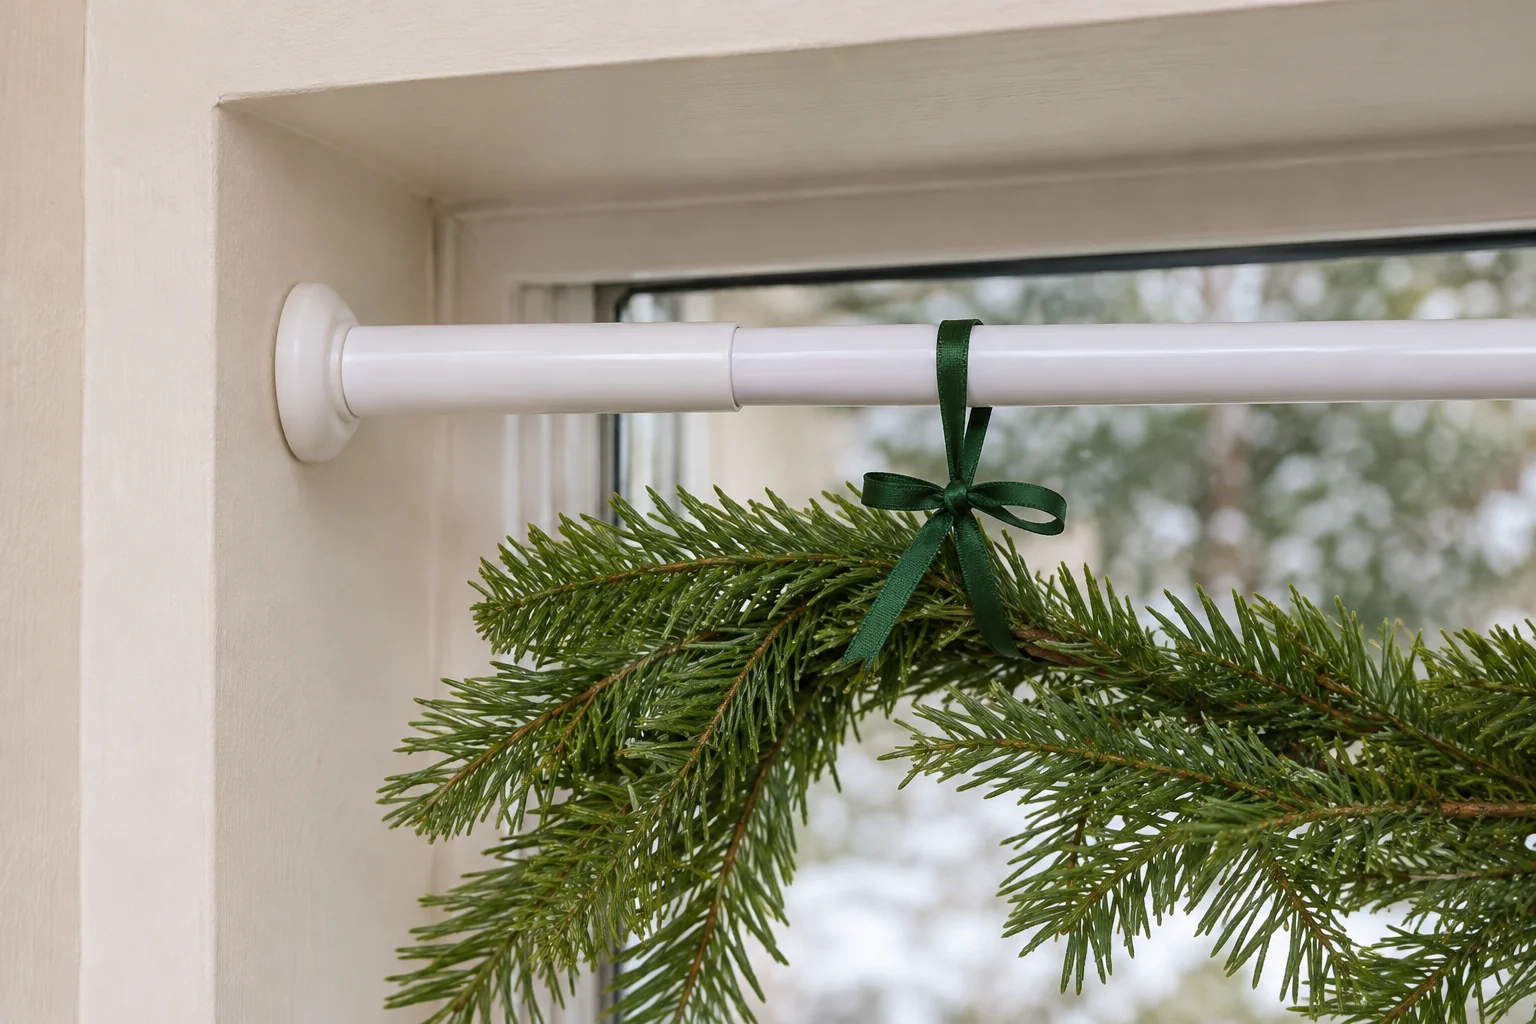
2. Fit a tension rod inside a window recess
Measure between the jambs and choose a rubber-ended rod rated for the span and load. Seat both pads flush, then tighten or compress the rod as its instructions specify. Check for movement before tying the strand around the rod at several points. Keep it clear of window locks and moving sashes. Kenney tension rod instructions
 Save
3. Tie garland to an existing curtain rod
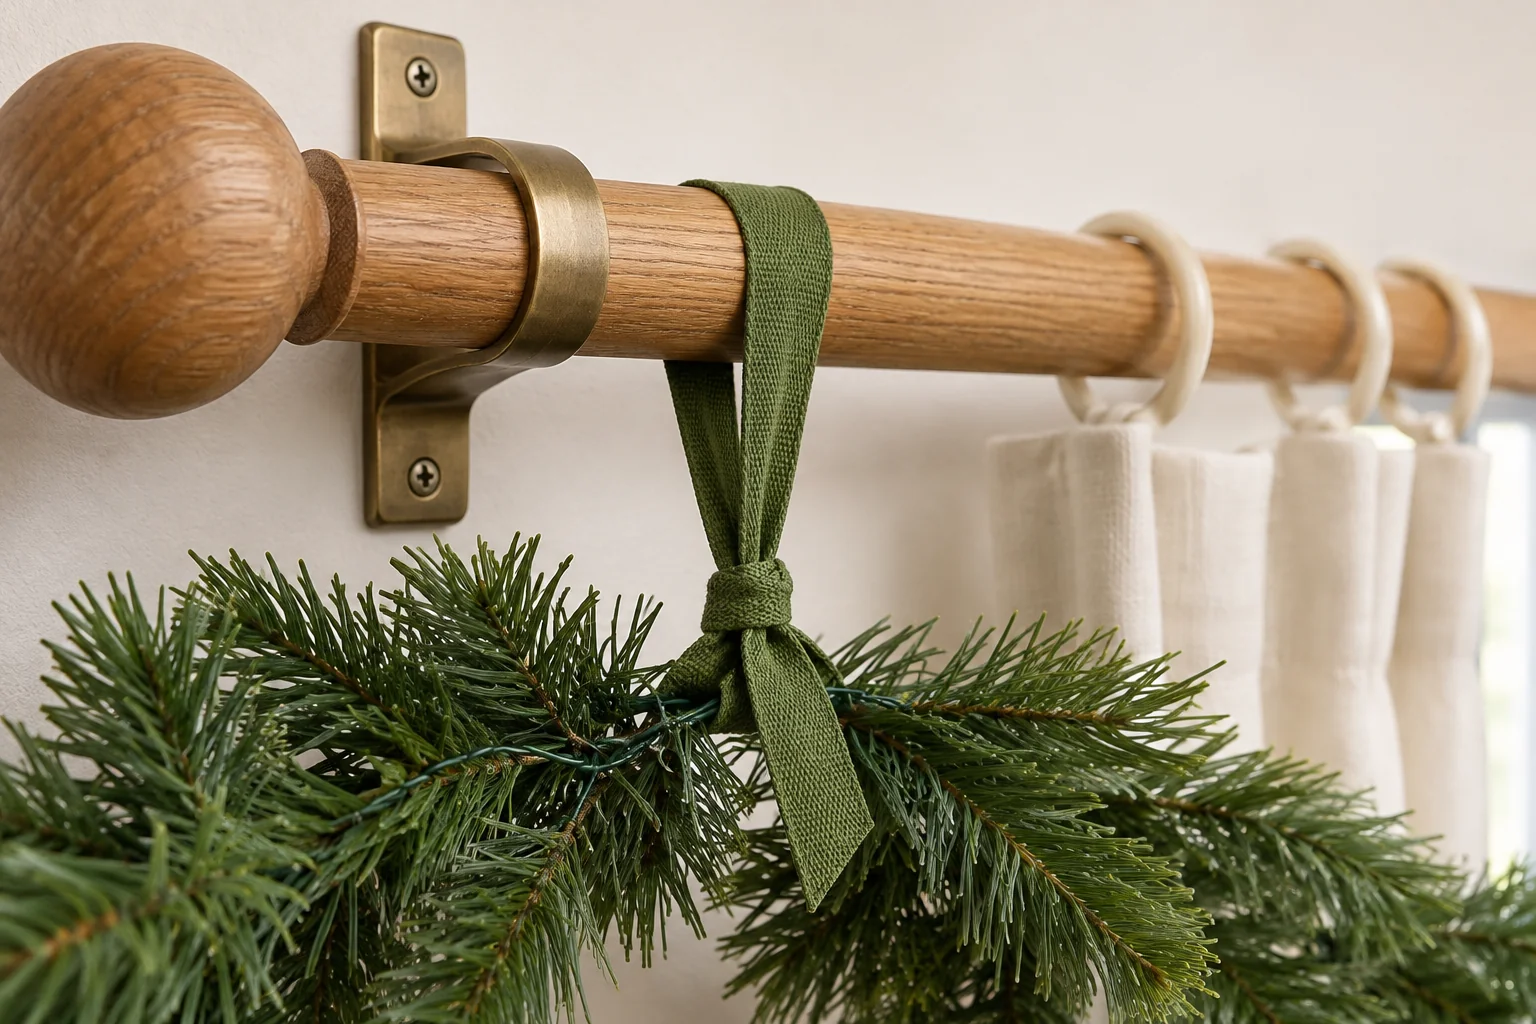
Check that the rod and brackets are secure and that the combined weight of curtains and greenery fits the system rating. Loop soft ribbon around the rod and garland spine at the ends and center. Tie the ribbon securely and check that the fabric can still move. IKEA curtain rod system load guidance
 Save
4. Use magnetic hooks on steel
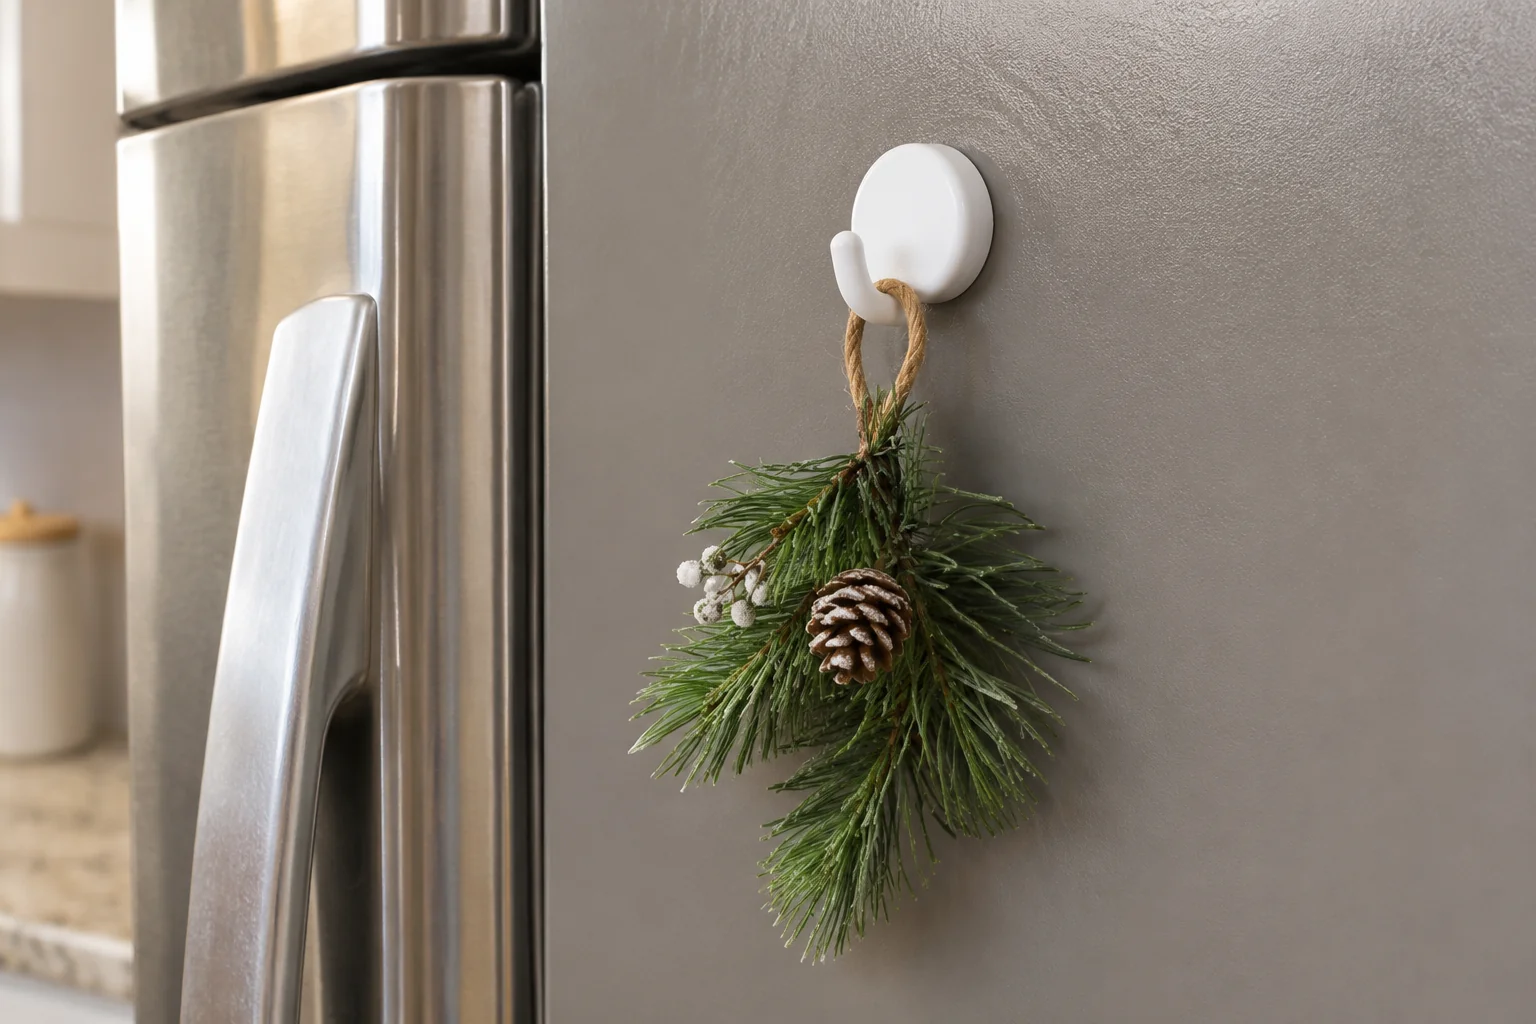
Find a flat steel panel that holds a magnet firmly. Wipe dust and grit from the panel and rubber-coated hook base. Place the hook flat and add a short, light strand. Use the manufacturer’s vertical holding guidance for comparable steel because straight pull ratings measure a different load. K&J Magnetics load examples
 Save
5. Clip garland onto exposed brick
Measure the brick face and check for a square mortar joint recessed at least 1/8 inch for Brick Clip fasteners. Seat the spring at the bottom, press upward, and engage the teeth over the top edge. Check the manufacturer’s labeled weight capacity for your clip and stay within it. Add the loop only when the clip sits flush and grips securely. Skip painted, crumbling, or flush-jointed brick, or any brick that the clip does not fit.
Avoid common mounting mistakes
- Wallpaper, fragile finishes, or textured drywall: Move the display to an existing rod. Even temporary adhesive can lift a weak finish. Avoid heavy-duty mounting tape marketed as removable. 3M gel tape exclusions
- Slipping or sagging: Take the garland down and check the load, fit, and contact surface. Switch to a shorter strand or a stronger compatible support if needed.
- Poor placement: Keep greenery clear of heaters, fireplaces, flames, and escape routes. Avoid mounting it over beds or anywhere a falling strand could injure someone.
Remove the hardware carefully
Lift off the garland first. For Command hooks, expose the tab, steady the hook or base, and stretch the tab slowly straight down, keeping it close to the wall. Allow for at least 12 inches of stretch to release the adhesive. If it breaks, consult 3M’s removal guidance before trying again. Untie ribbon, release tension while holding the rod, lift magnetic hooks away without dragging, or depress the brick clip spring to release the teeth.
For styling ideas, browse small-apartment Christmas decor and the Seasonal Decor archive.